Getting Started with InfraCopilot
Welcome! The purpose of this page is to help you get started with InfraCopilot. We'll walk you through the steps to create a new deployable architecture on AWS using Lambda, DynamoDB and an API Gateway in 5 minutes.
Create a Architecture
Get started by visiting InfraCopilot, sign up for a free account in case you haven’t yet. Once you log in, click on the New Architecture button. You'll be prompted to enter a name for the architecture. Once you've entered the details, click on the Create button and you'll be taken to the editor page.
First Time Using the Editor
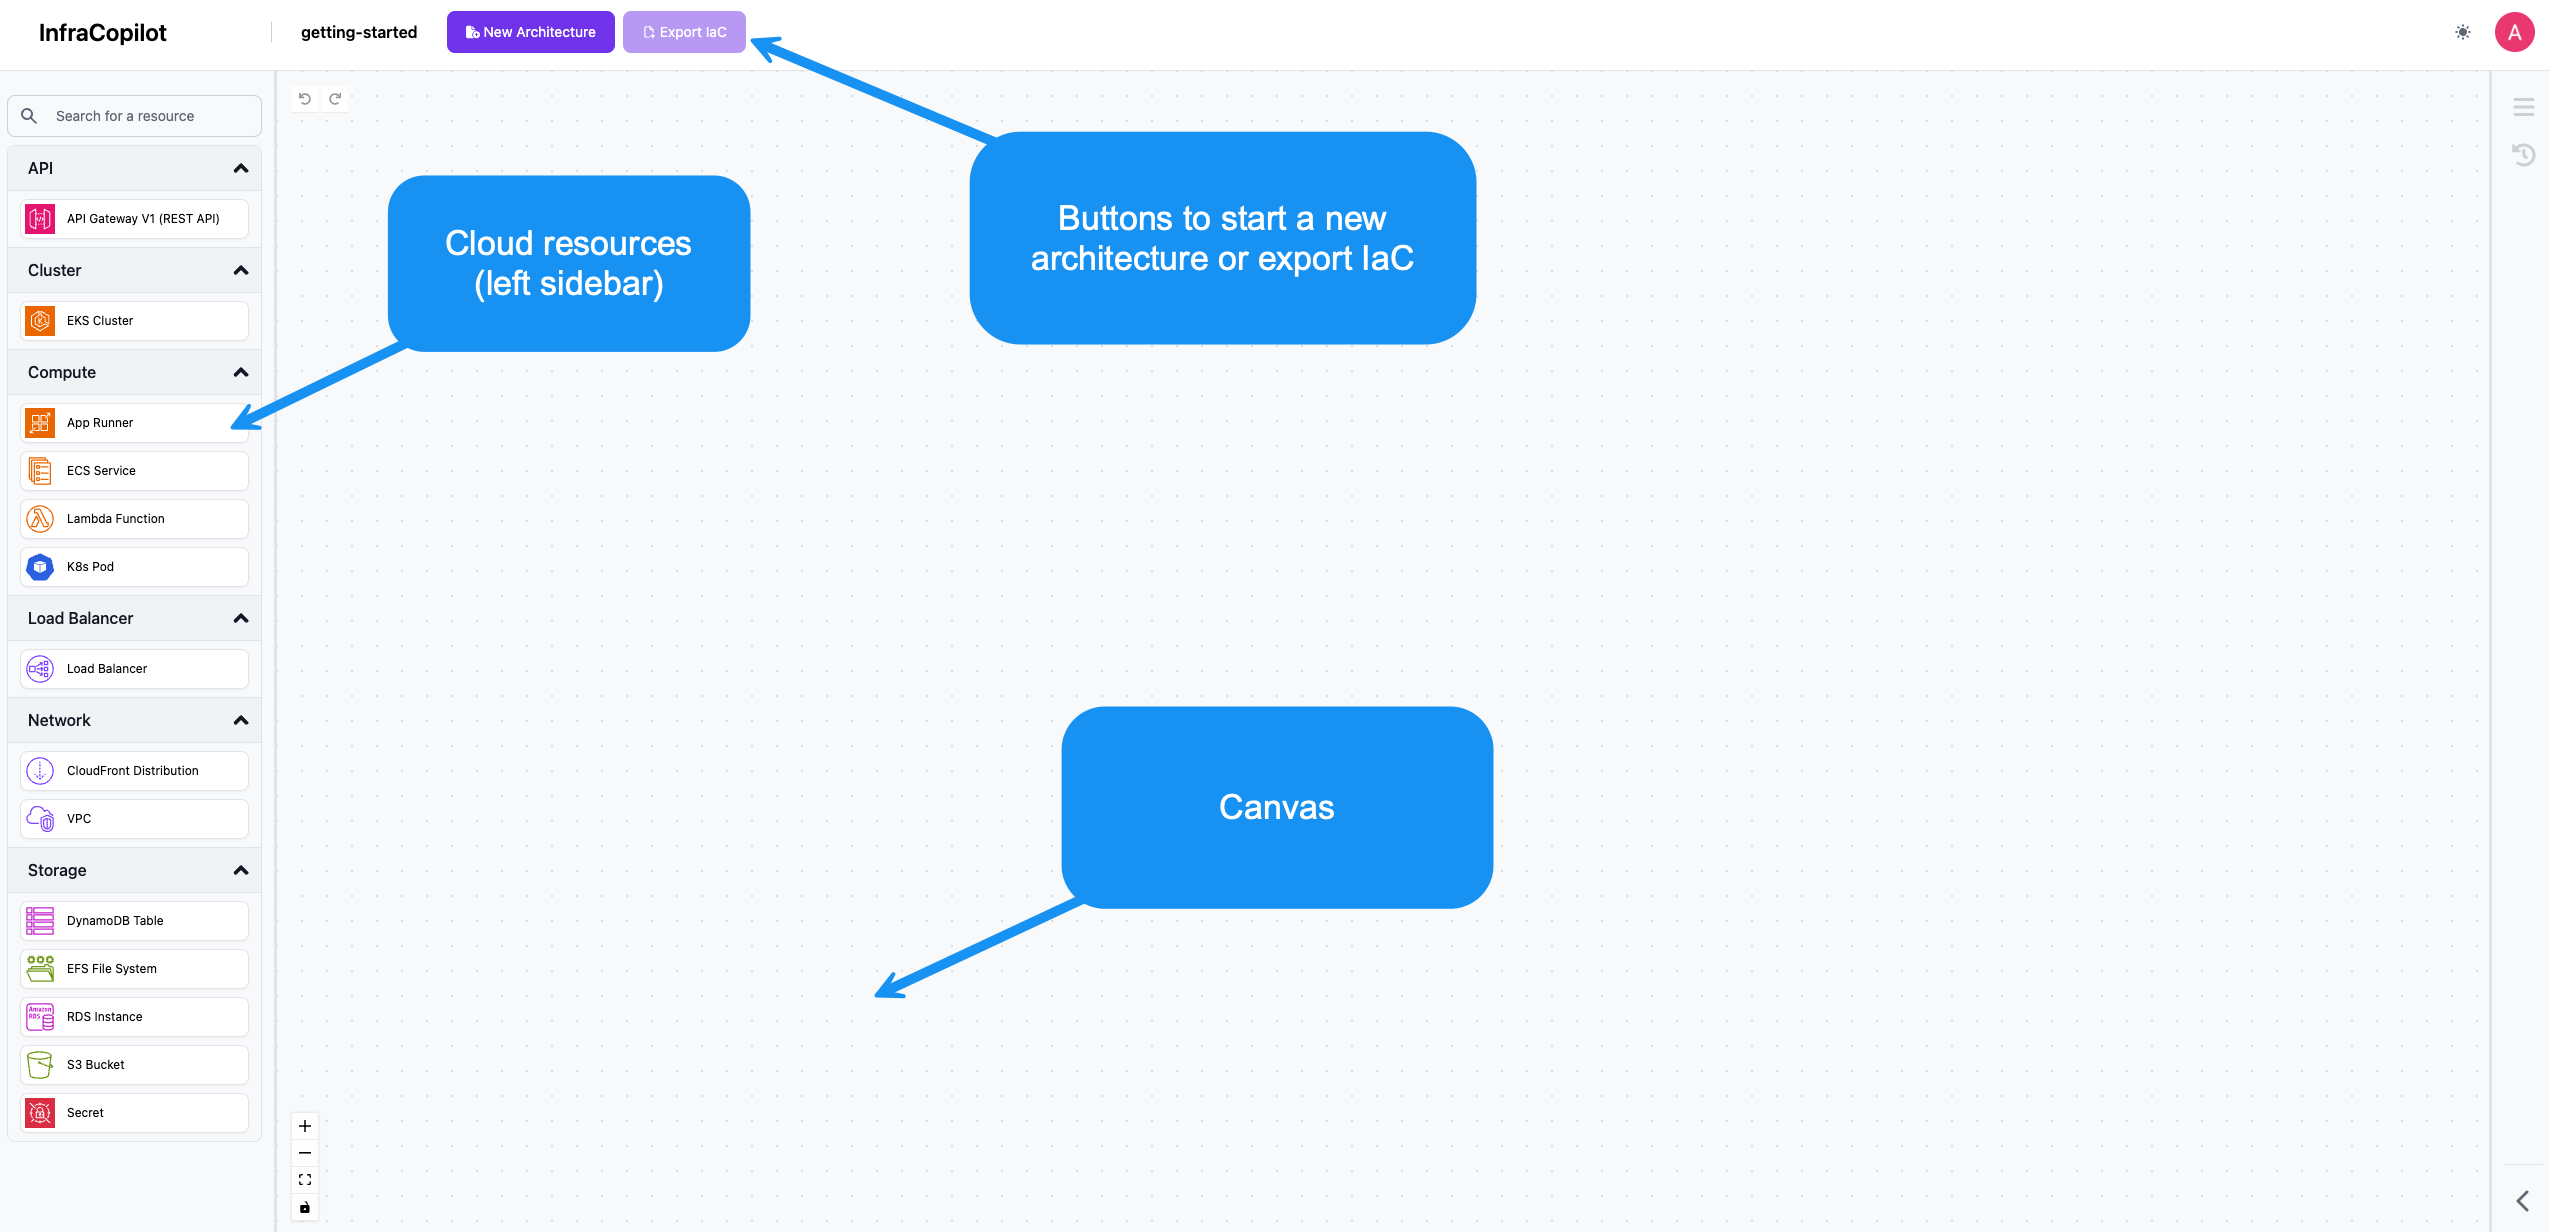
The editor is used to create cloud architectures. InfraCopilot has an intelligence engine to autocomplete architectures so you can operate on high level resources without worrying about the low level details. For example, you'll directly connect a Lambda to an RDS without manually creating a VPC, subnets, security groups, etc.
Here's a general guide for what is available on the editor page:
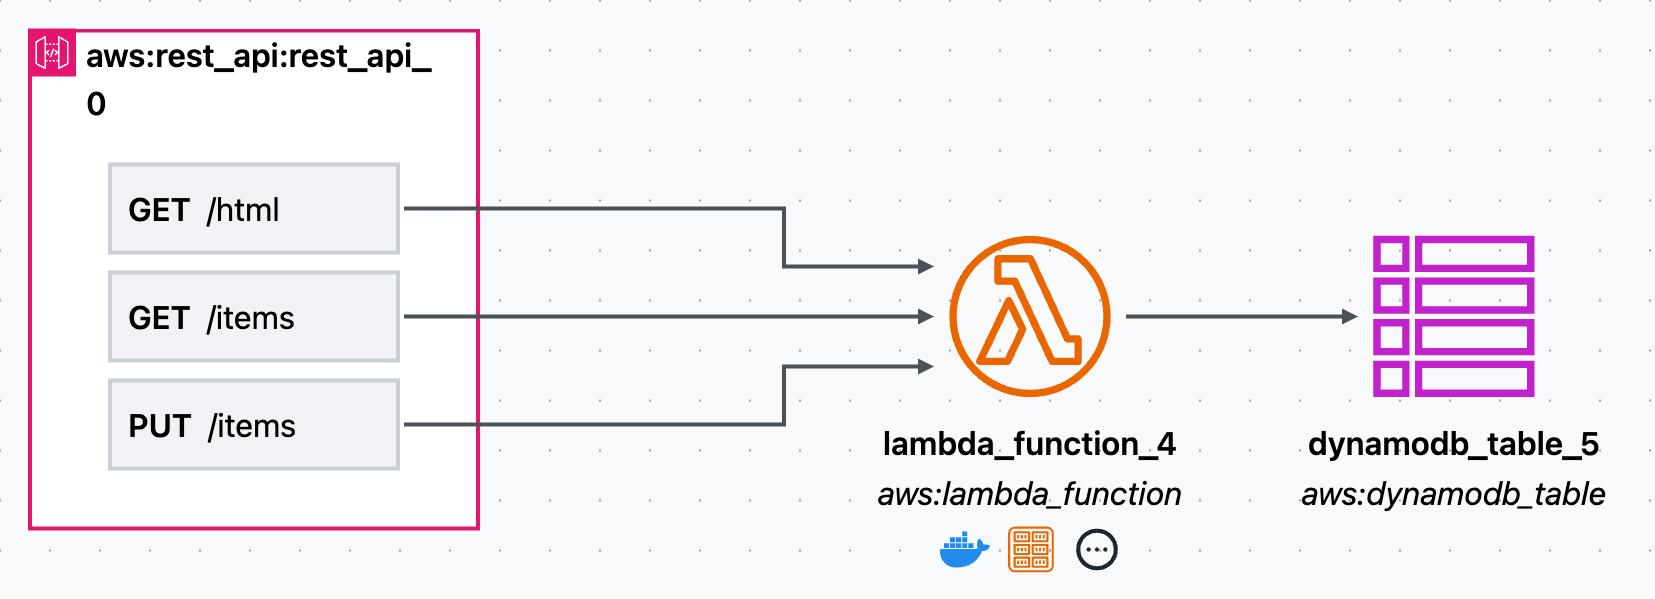
To create your first architecture, follow the following steps starting with finding relevant resources in the left sidebar. When we're done, we'll have created the following architecture:
Step 1. Drag in a Rest API
- Locate the Rest API resource in the left sidebar
- Drag it onto the canvas
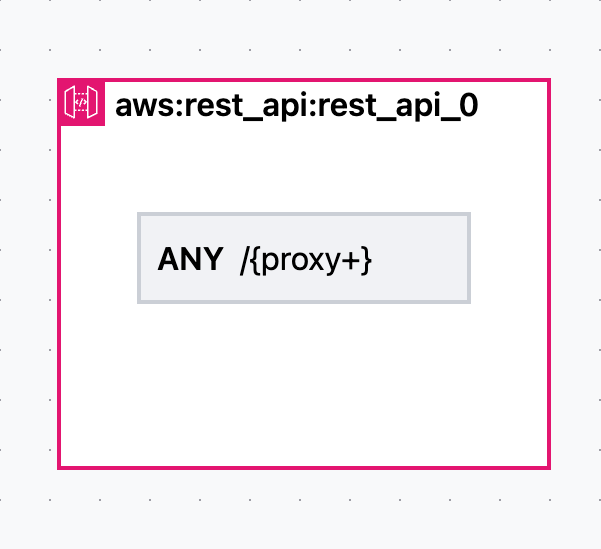
By default the Rest API will create a single route using ANY protocol when hitting /{proxy+}. This is a catch-all route that will forward all requests to whichever resource you connect it to.
Step 2. Configure the Rest API
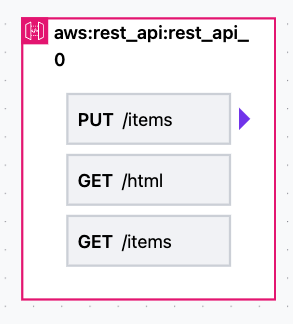
API Gateways are great for routing sub-paths of routes to different compute units. To do that, we need to define which API routes go to which compute units. To do that, we’ll want to change the /{proxy+} catch-all route and replace it with specific routes. To keep the tutorial simple, we’ll have all the routes lead to the same compute unit, but this is how you would connect different routes to different compute units.
- Select the Rest API outer container by left-clicking it
- On the right side-bar ensure that the config tab is selected
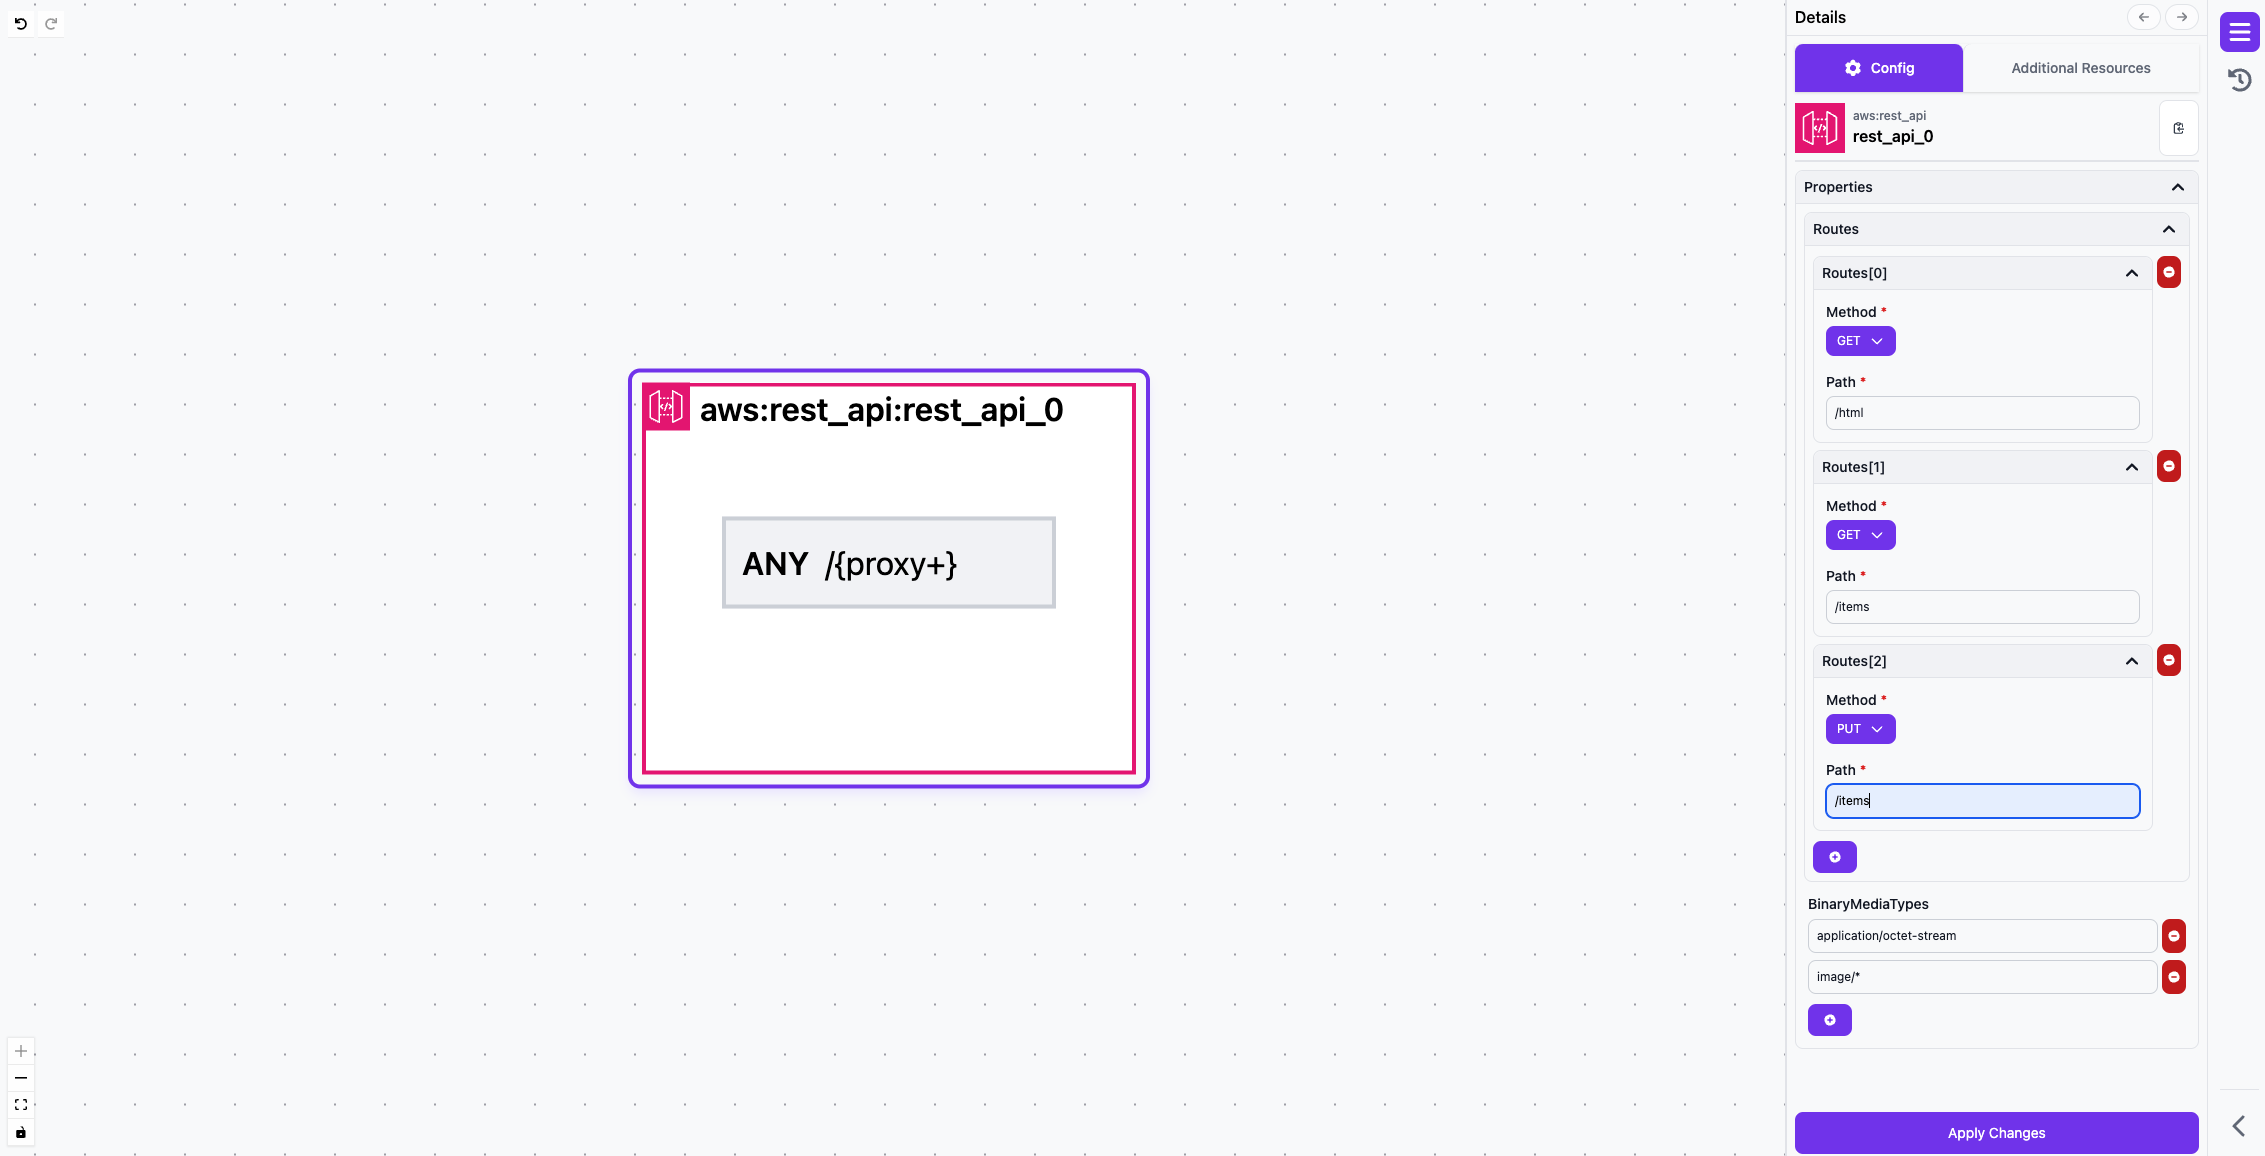
- Modify the existing route by first changing the method dropdown to
GETand then by changing the path from/{proxy+}to/html - Add 2 additional routes by hitting the + button, the method and path should be
GET /itemsandPUT /items. - Click Apply Changes in the lower right
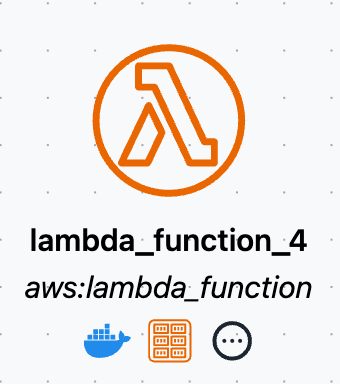
Step 3. Drag in a Lambda
- Locate the Lambda Function resource in the left sidebar
- Drag it onto the canvas
Step 4. Connect the Rest API to the Lambda
- Hover over the Rest API and click and drag the purple arrow to the Lambda icon, you'll also notice that valid connect targets will be highlighted in purple and invalid targets will be highlighted in red.
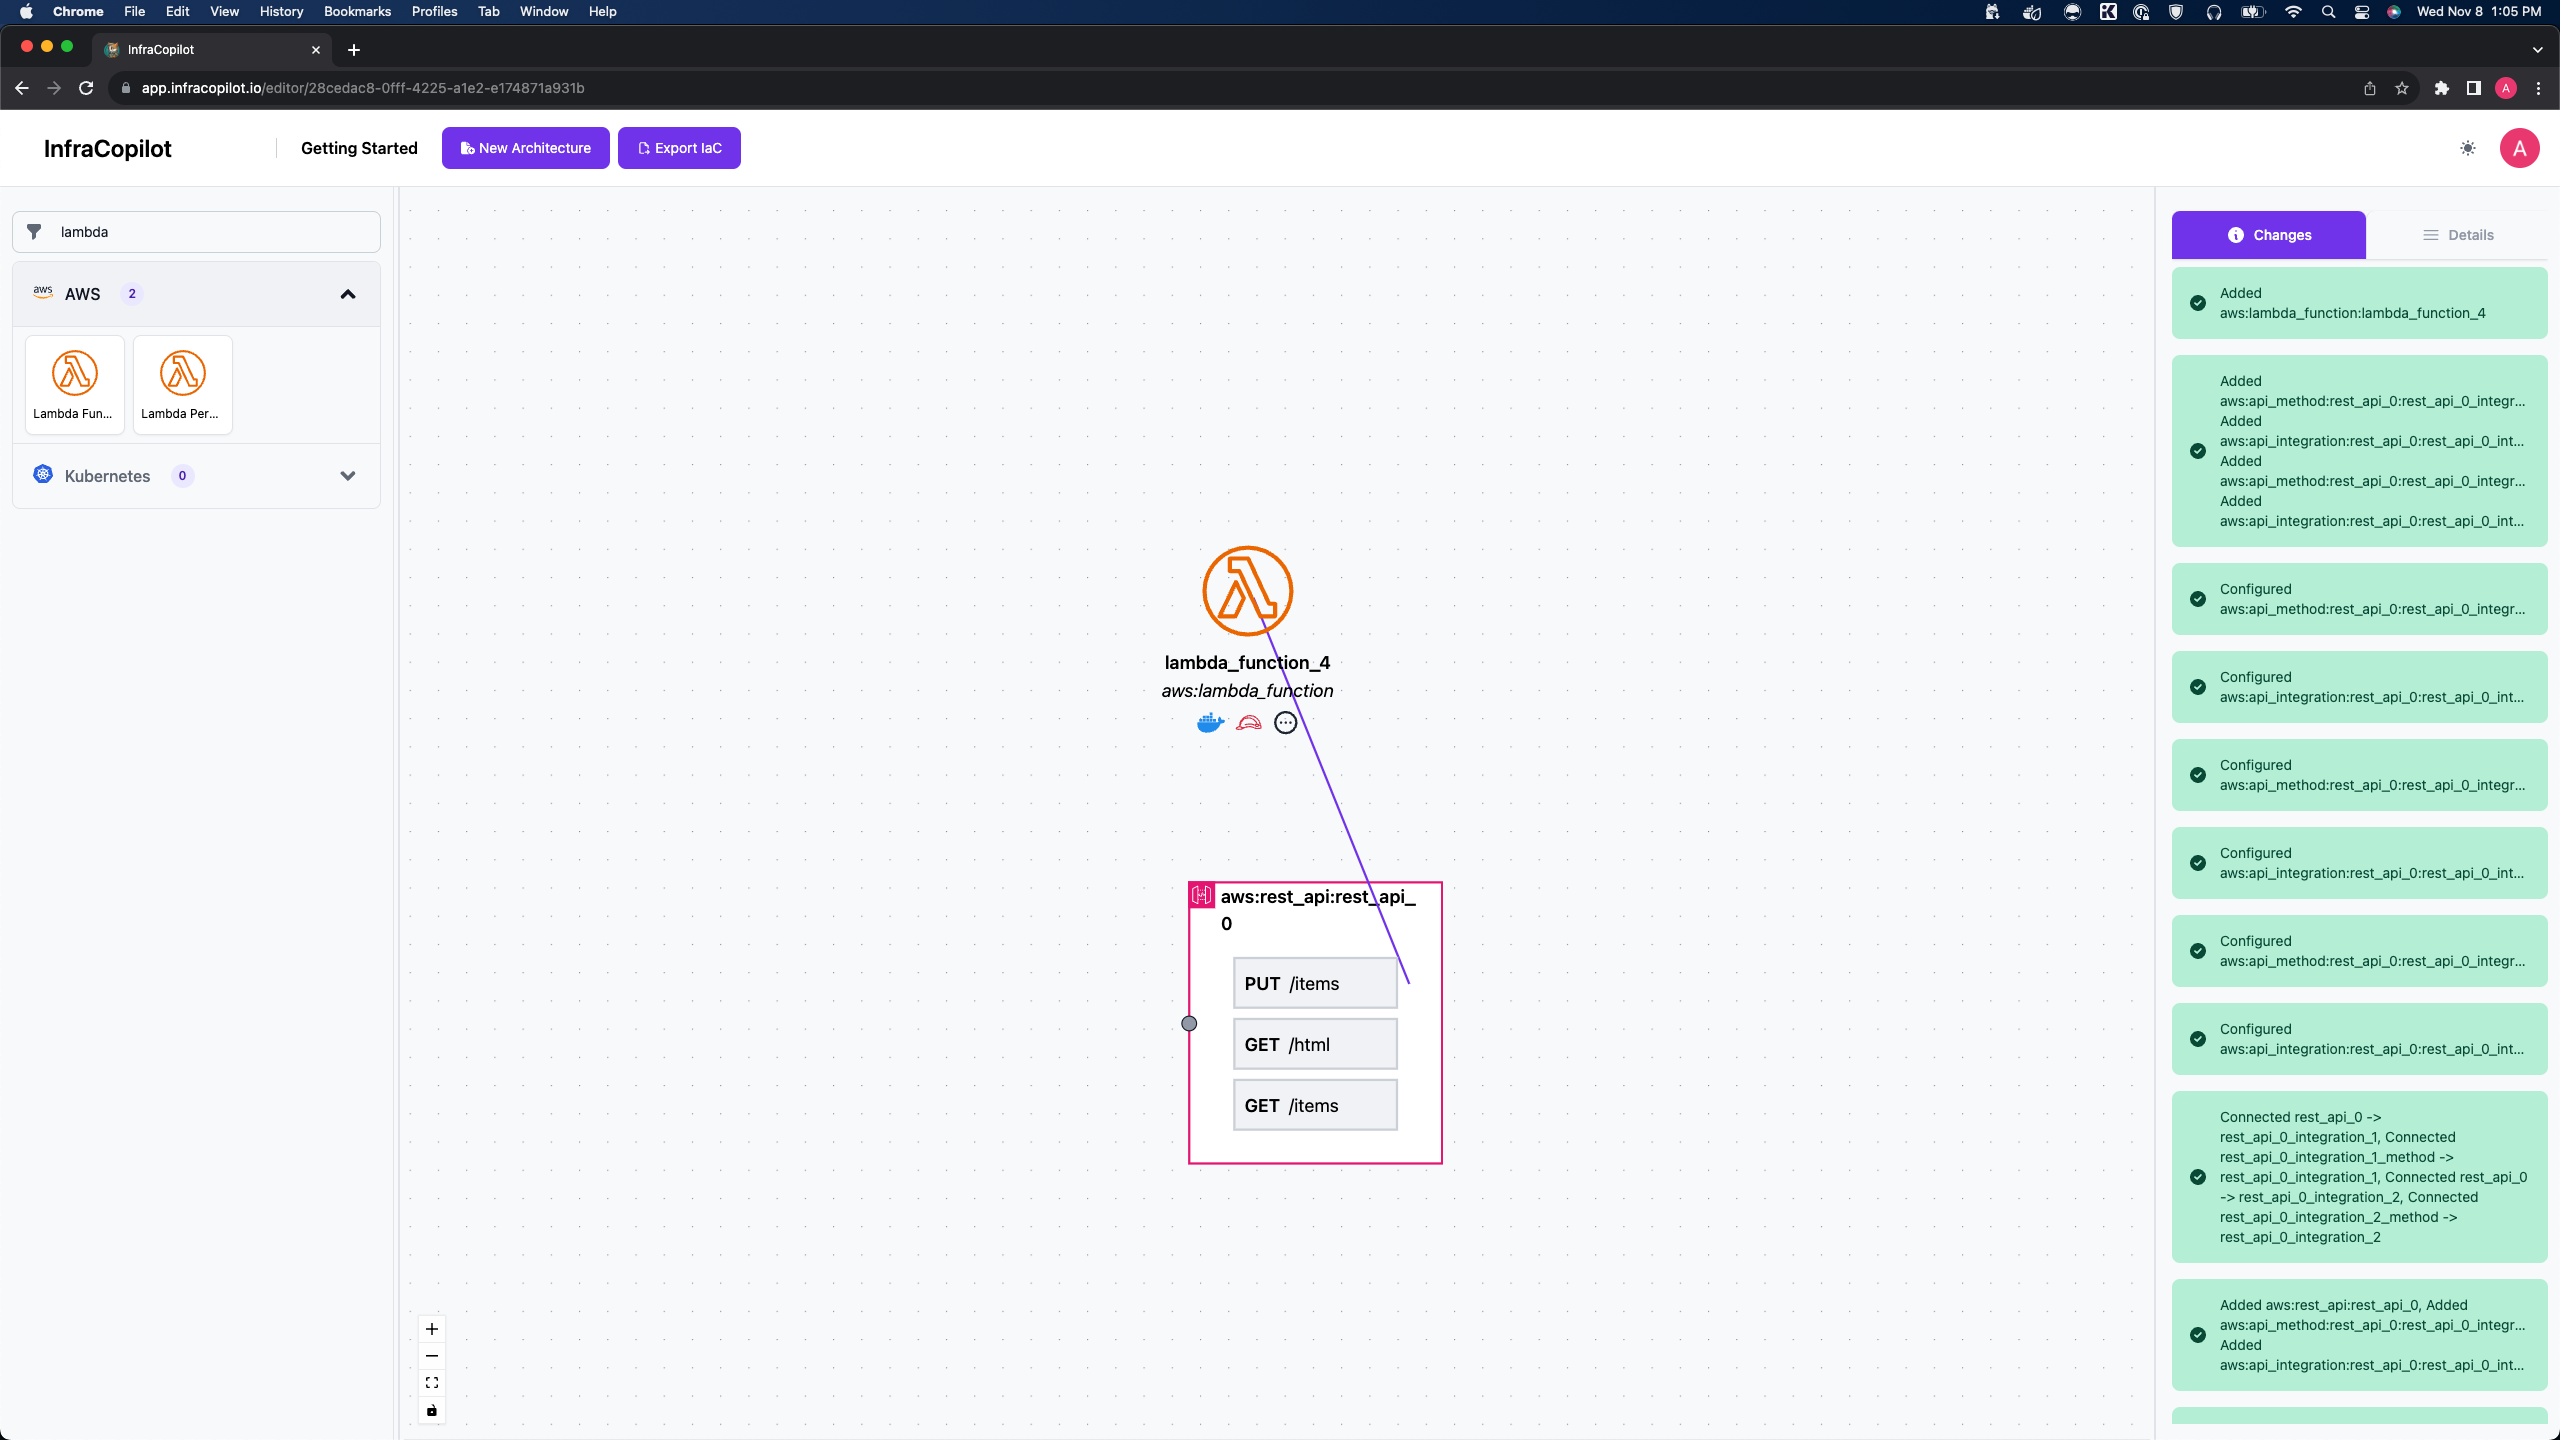
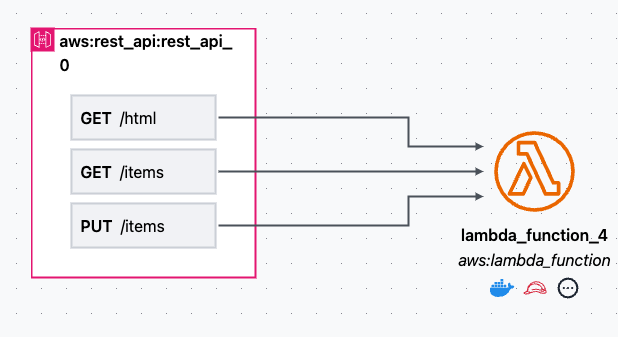
- Do this for all of the routes, the end result should look like this:
Step 5. Drag in a DynamoDB
- Locate the DynamoDB Table resource in the left sidebar
- Drag it onto the canvas
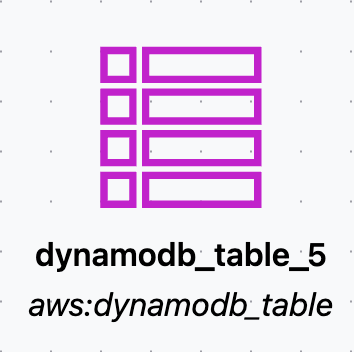
Step 6. Connect the Lambda to the DynamoDB
- Hover over the lambda and drag the purple icon to the DynamoDB Table Icon, the result should look like this:

Step 7. Configure the Lamba
- Select the Lambda Function by left-clicking it
- On the right side-bar ensure that the config tab is selected
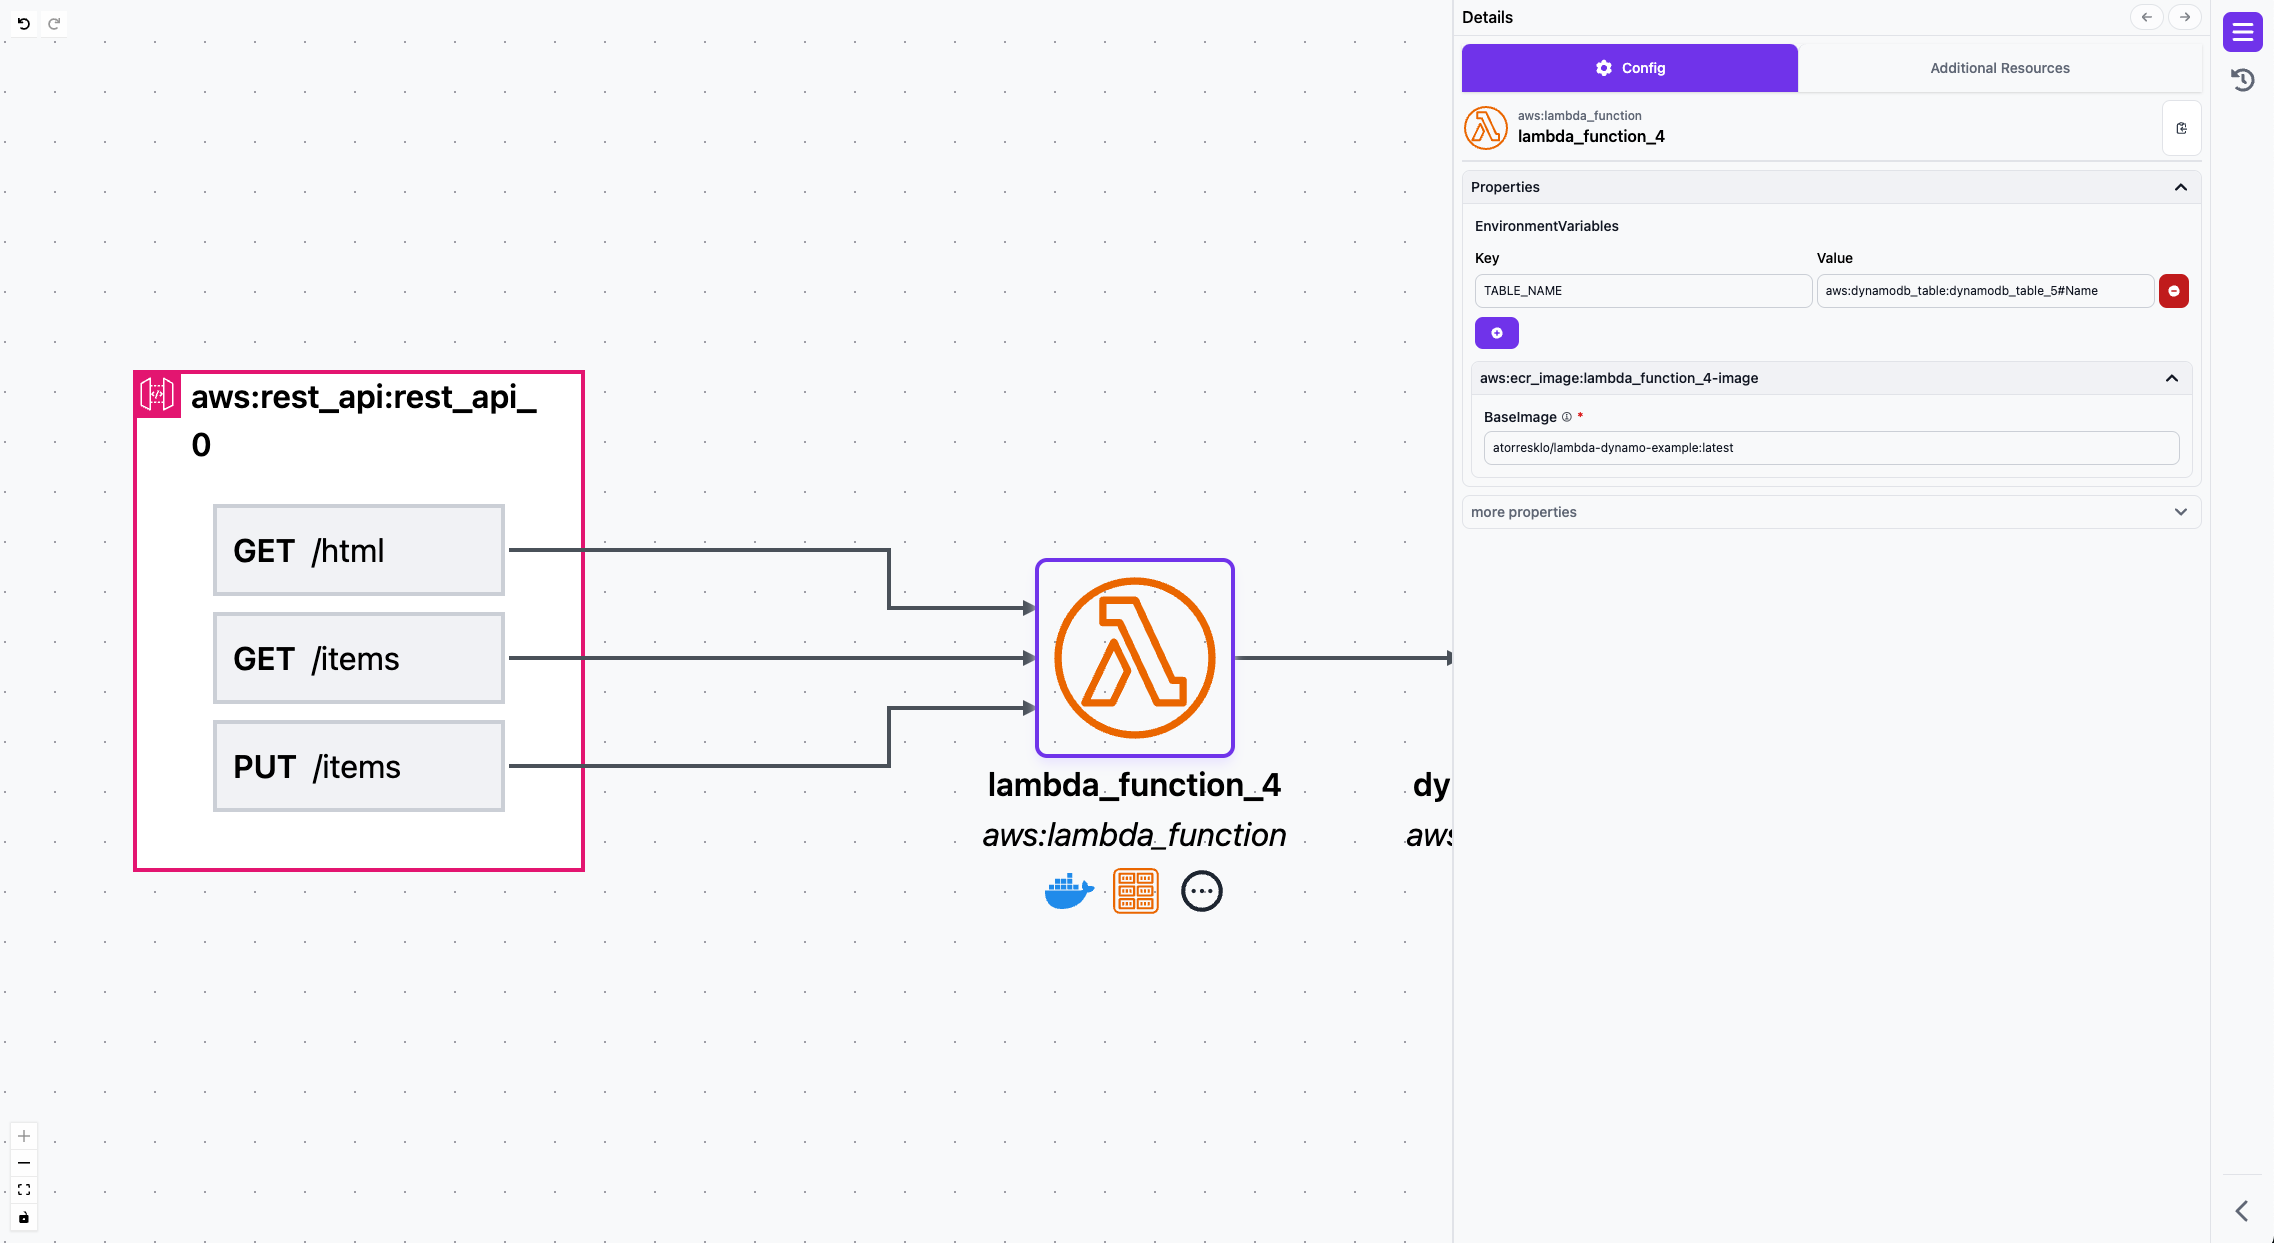
- By default an environment variable for the table_name will be automatically populated on the Lambda when the DynamoDB table is connected. Rename the key to
TABLE_NAME. The key name is the environment variable our container expects to be set to find the DynamoDB table name at runtime. The value of the environment variable is a combination of resource name, in this caseaws:dynamodb_table:dynamodb_table_5and its property#Name - Configure the BaseImage to be the value
atorresklo/lambda-dynamo-example:latest. This is a simple lambda-based docker image with the 3 endpoints we specified in the Rest API. /html serves a static website, a PUT to /items writes to DynamoDB, and a GET of /items reads from DynamoDB. - You may also use custom images/routes etc to the same effect.
- Click Apply Changes in the lower right
Step 8. Export IaC (Pulumi)
- Click the Export IaC button on the top of the screen, this will download a zip file with the name of your architecture containing all the IaC to deploy it.

Step 9. Local Docker, Pulumi, and AWS Setup
- Create an AWS user with admin permissions
- Follow the Pulumi guide to setup Pulumi with AWS using your credentials
- You'll also need to install Docker for building a container and fetching images from DockerHub
Step 10. Deploy to AWS
- Extract the IaC from the zip file
- Navigate to the directory
- Run
npm install - Run
pulumi stack init - Give your stack a name
- Optionally specify a passphrase
- Specify your region
pulumi config set aws:region us-east-1change us-east-1 to whichever region you desire - Run
pulumi up - Review the plan and type
yesto deploy
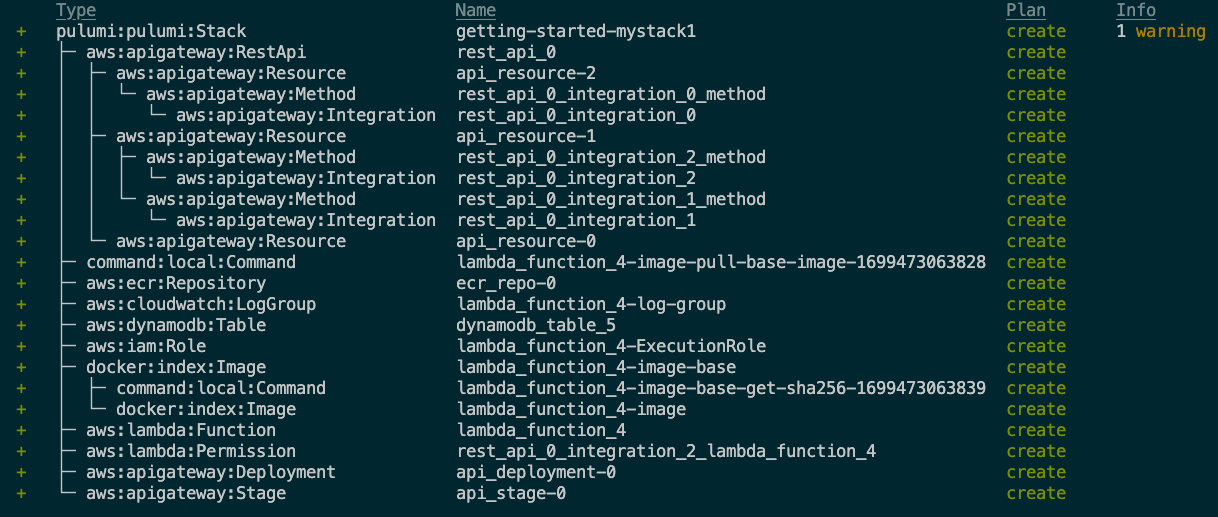
Step 11. Test the API
- Grab the URL from the pulumi output, this should look similar to
+ api_stage_0_Url: https://your-api-endpoint.com/stage - Go to
https://your-api-endpoint.com/stage/htmland you should see a static website / webgl globe demo

- From a command line curl insert and retrieve from dynamodb
$ curl -X PUT "https://your-api-endpoint.com/stage/items" \
-H "Content-Type: application/json" \
-d '{"id": "123", "price": 19.99, "name": "Sample Item"}'

"Put item 123"
and
$ curl https://your-api-endpoint.com/stage/items

[{"price":19.99,"id":"123","name":"Sample Item"}]
Step 12. Tear down Infrastructure
- From the same directory
pulumi destroy - Confirm with
yes
Step 13. Share Feedback
We look forward to seeing what amazing things you build. If you get stuck or want us to support a capability, please join our Community Discord, where the whole team hangs out and is happy to help.